While record players aren’t quite as convenient as modern devices, they still continue to deliver a music experience like no other. Whether you’ve just purchased a new player or wish to handle a vintage one with care, this guide will take you through exactly how to use a record player.
Part one: getting the player ready
Before you even think about putting your vinyl record on the player, there are a few precautionary steps to take.
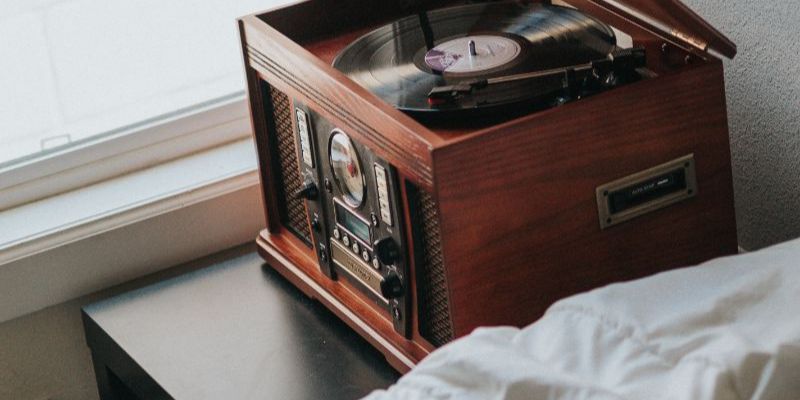
Remove the dust cover
Most high-quality turntables or record players have a plastic dust cover that shelters the whole device. This cover prevents any dust or dirt from interfering with your player when it’s not in use.
If the cover is hinged, simply lift it slowly until it remains in place. If unhinged, gently remove the cover and place it somewhere out of reach. It’s important to ensure that you don’t damage the cover while it’s left on the side, as this may cause complications with your player further down the line.
1. Ensure the player isn’t spinning
If you put your record player away properly (more on that later!), then this step shouldn’t be a cause for concern. However, either way, it’s always best to check that the player isn’t spinning before using it. Placing a record on a spinning turntable may scratch it and distort the sound.
Hint: To stop your record player from spinning, locate the switch and turn it off. If there is no switch, check to make sure that the needle isn’t touching the platter (the spinning surface).
2. Place the record down
Now that the dust cover has been removed and the player is stationary, it’s time to place your vinyl record on it. Remember always to hold your records by the edges so that you don’t get any oil in the grooves (oil attracts dust!).
Once you have a gentle grip on your vinyl record, slowly place it down on the platter, ensuring the spindle slots through the record’s central hole. Let go of the record once it is stable on the player.
Part two: operating the player
Now it’s time for the fun to begin! Read on to discover exactly how you should operate your turntable.
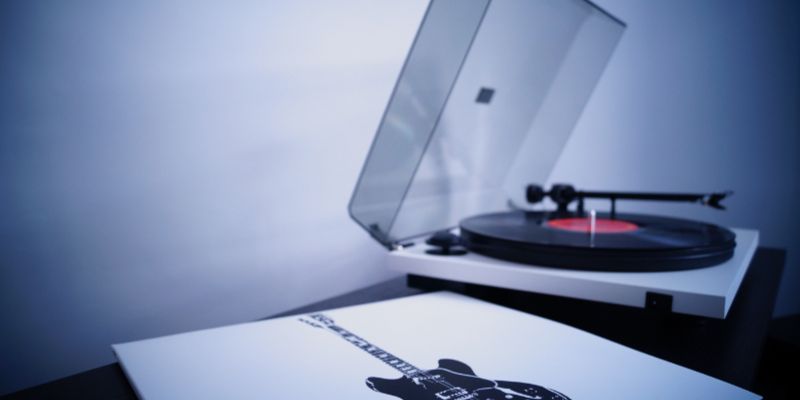
1. Turn the player on
There are many different models of turntables out there, meaning how you operate yours might vary. However, as a general rule of thumb, most will turn on via a switch. The switch will usually allow you to determine the speed – it’s worth knowing that standard 12” records should always play at 33rpm.
If there is no switch, it’s likely that the player will start to spin once the stylus meets the record. This leads us to our next point…
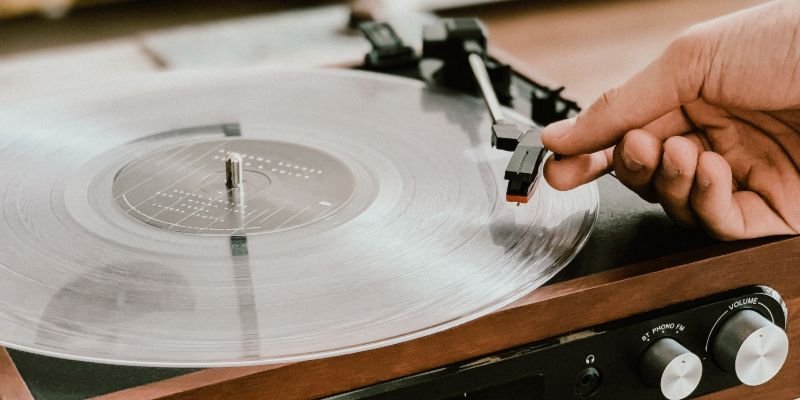
2. Lift the tonearm & position it above the record
Now that the player is switched on, it’s time to put the tonearm in motion. Many turntables have a queuing feature that takes care of this for you – if this is the case, gently rest the lever above your record, and the cueing feature will lower the arm.
If your turntable doesn’t have a cueing feature, move the tonearm slowly, placing it over the outer grooves of the record.
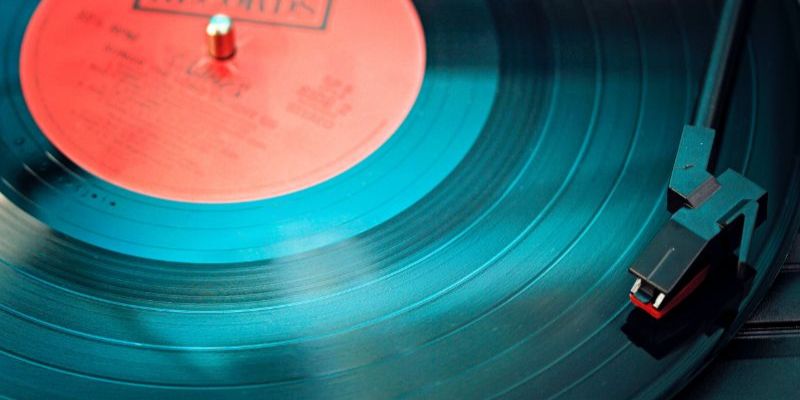
3. Slowly lower the stylus onto the record
Once you’re confident that the tonearm is above the right grooves on the vinyl, disengage the cueing switch so that it lowers and makes contact with the record. You will have to do this manually if there is no cueing switch. It’s important to use a gentle hand here; otherwise, you risk scratching the record.
Top Tip: The sound that your record player makes will be a good indication as to whether this step was done correctly. It should be a fairly silent encounter with minimal crackling or popping.
4. Once done, put the tonearm back in place
Now that you know how to engage the player, it’s time to figure out what to do once the listening experience is over. This essentially involves repeating all the previous steps but in reverse.
Once you’ve finished listening to your music, lift the tonearm away from the record, either by engaging the cue switch or lifting it with your hands. As soon as it’s away from the record, you can put it back into its resting position.
When the tonearm is back in its resting position, switch the player off to stop the platter from spinning. It’s important to do this after the tonearm has been moved so that you don’t scratch the record.
If listening to the other side of a record, simply repeat the above process. Once you’ve finished listening completely, put the dust cover back on to protect your player. If you have external speakers you want to listen to, read our guide on connecting turntables to speakers here.
Part three: looking after the player
There you have it – a hassle-free way to work your record player! But, it doesn’t stop there. If you want your record player to deliver a crisp sound time and time again, you’ll need to look after it properly.
Read on to discover three golden rules that’ll keep your player in top condition for many years to come.
1. Keep dust away
As you can probably tell by now, dust is not something you want anywhere near your record player. This is because dust can distort the sound and scratch your record if it accumulates.
With the above in mind, you should always keep your record player and vinyl records free of any dust. Check out our record player care guide if you want to know the best way to go about this.
2. Handle gently
We’ve used the word “gently” a lot in this guide; that’s all with good reason. Although made from durable materials, record players are incredibly delicate and require great care. Handling the player with a heavy hand may result in permanent damage.
Top Tip: When moving the tonearm and needle, never force something that won’t budge. Use the cueing arm if there is one, and ensure the needle meets the record gently. Quick or heavy movements risk scratching the vinyl.
3. Take care of the records
It’s not just your record player that requires some TLC… your vinyl records are just as important!

Always hold your records by the edges so that you avoid getting fingerprints on the surface of them. Your fingerprints may be oily, which in turn, attracts the dreaded dust.
You should also pay attention to how you store your records. Ideally, they should be kept vertically. Stacking them on top of each other without their sleeves may cause the records to warp.
Fall in love with vinyl
Although they have a slightly more complicated process than modern-day devices, record players are absolutely worth the extra effort. Nothing beats the sound that comes from your favourite vinyl record. Now that you know how to work a record player properly, it’s time to relax and enjoy the music!